Category Archives: Photography

Pano Planet

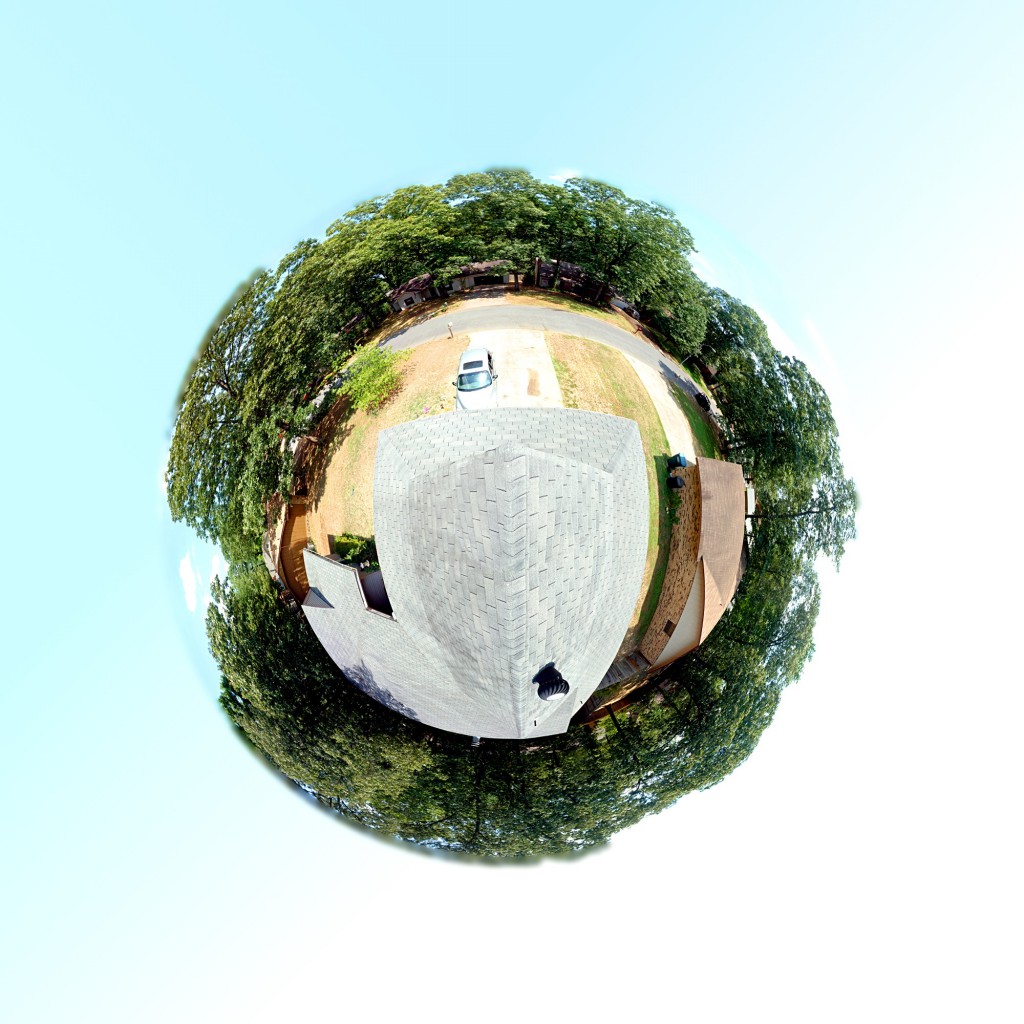
Here’s a neat photo trick I’ve seen recently, and decided to give it a shot myself.  The general idea is to take a 360 degree panorama shot, then map it to polar coordinates.  This produces a sort of weird spherical projection that looks like a tiny planet.  Called “Pano Planets” or “Wee Planets” (or various other names), the effect is striking.  Objects on the horizon pop out into space, while things in the foreground are flattened.

The neighbors must have thought I was pretty crazy spinning a tripod around on our roof, but I made one from the view at our house.

DIY Photographic Solar Filter

There’s a solar eclipse coming up tomorrow night. But don’t think you can just grab your camera before the event and go: getting usable sun photos requires preparation, and most importantly a solar filter. Direct sunlight is way too bright for cameras to cope with – they simply can’t stop down far enough, nor shoot fast enough, to keep from blowing out the image and producing a huge featureless white blob.

A solar filter sits between your lens and the sun, and it knocks down the light to 1/10000 or so of its original amount – something a camera can then deal with.  If you’ve planned ahead far enough you may already have a solar filter. If not, you can improvise something like this one for $3. (If you’d rather read this as an Instructable, click here: https://www.instructables.com/3-Camera-usable-Solar-Filter/)

DO NOT LOOK THROUGH THIS FILTER AT THE SUN.  YOU COULD EASILY BLIND YOURSELF.

I can’t stress the previous lines enough.  This design is safe for cameras, not for eyes, because it blocks visible light.  That leaves the harmful UV and infra-red rays unblocked – things your camera is not sensitive to, but your retinas are!  If you want a visual (observing) filter, buy one.  No DIY solution can be tested / guaranteed as a commercial one can.

Okay, let’s get started.  Filter construction is simple: you need a filter material, and a housing to fit it onto the camera.

Parts list:

  • Empty plastic food container (with lid), larger than lens
  • Mylar sheet.  Buy an “emergency blanket” from the camping supplies section at Wal-Mart.  Total cost: $2.97
  • Razor blade
  • Black spray-paint

Step 1: Cut a hole in the narrow end of the plastic container.  This end will fit over your lens.  Aim for a snug fit, so it doesn’t fall off your camera, but don’t go too snug so you have to force it on (could damage the drive motor)

Step 2: Spray paint the cup black, inside and out.  This helps block light from leaking in through the white sides.

Step 3: Cut a large hole in the lid, leaving behind a ring.  Leave a couple millimeters on the edge so it’ll remain stable.  Then, lay the ring on the mylar sheet, and cut two or three squares of Mylar larger than the ring.

Step 4: Assemble your new filter!  (Note I painted and assembled in the wrong order) Now simply stuff it over the end, point at the sun (tripod preferred), and shoot.  Your camera might get confused about the target – set it for “spot meter” and manual focus at infinity.

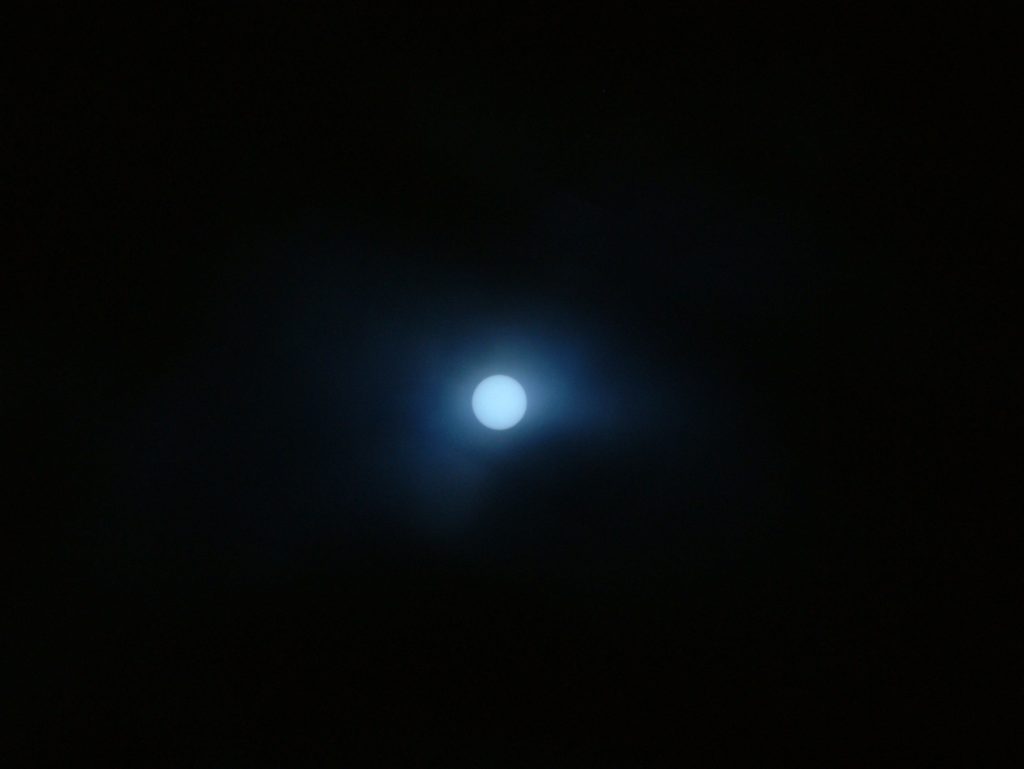
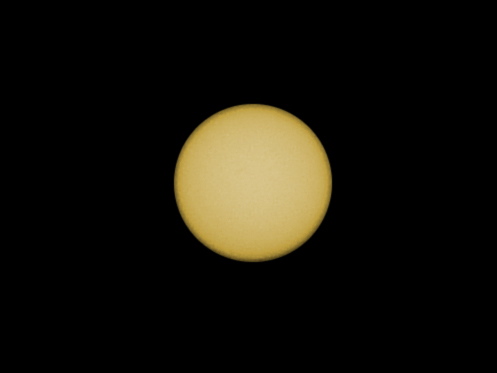
Here’s a first attempt using the filter.  There’s some haze here that was added by the filter: I can’t figure out how to get rid of it.  Guess that’s just the nature of the tool.  Try varying the number of filter elements (sheets) to see if you get better results.  Make sure to get in lots of practice today and tomorrow – you don’t want to be fiddling with this during the minute or so that the eclipse is actually going on!

EDIT: 2 sheets, f11, 1/1300 exposure.  Post: Crop.  Manually selected circular sun and blacked background / haze.  Colorize.

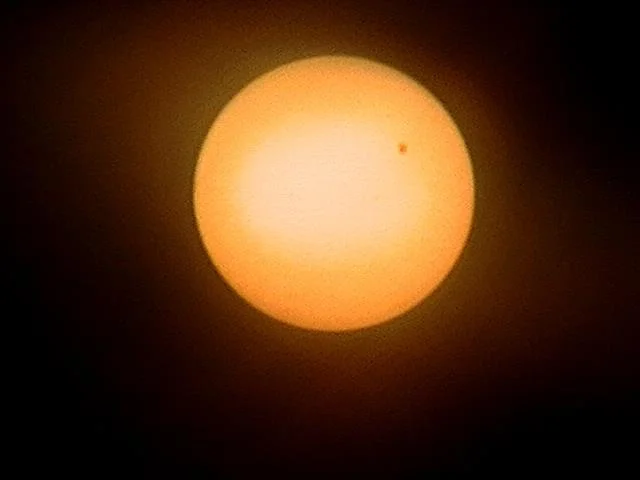
Finally, here’s an image I got of the Transit of Venus on June 5, 2012. This used a filter over a video camera, zoomed in 40x.

DIY Studio Lighting

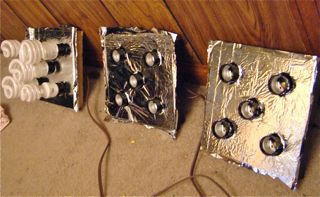
Studio lighting doesn’t have to be complicated. Here is a solution that I built from scratch, based on the idea of “continuous lights”. It lacks the power of strobes but makes up for that with style and intuitiveness. It is readily understood by anyone who has operated a lamp. The design is based on Alex Campagna’s DIY Spiderlight Strobe project, which is a clone of the Westcott Spiderlight TD5 system. I made design compromises that simplify this to the bare minimum.

If you decide to build this yourself: note that you are working with AC mains voltage, easily enough to kill you, and the wiring here is a far cry from being UL approved. I make no recommendations and instead encourage you to seek a second opinion regarding the electrical work. Tread carefully, I am not responsible for harm or damage that may result from building such a system.

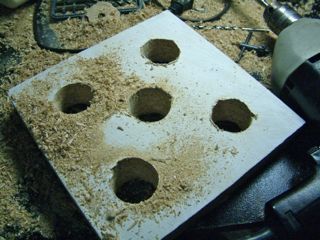
Step 1 is to get some wood squares. I cut up an old shelf into six 8″x8″ squares, then glued pairs together to make a 1.5″ thick block to work with. Sand the tops, then slap a layer of flat white primer on it. Let dry and, using a 1-3/8″ drill bit, put five holes through each. The distance between these holes is up to you – figure out what bulb diameter you’ll shoot for and space appropriately to make sure they will fit.

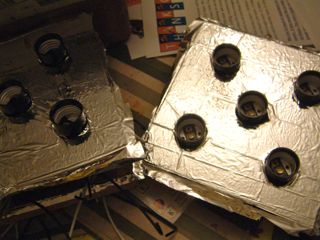
Now for the secret weapon – Mylar. According to various pot-growing forums (who strangely seem to be the only people on the Internet interested in doing this kind of research), flat white paint provides some 95% reflectivity of visible light while Mylar gets up to 98%. It’s way better than a glass mirror, and also beats the heck out of crumpled tinfoil. The material I used is cut from a Wal-mart Emergency Camping Blanket, $2.97 for a large sheet. It’s thin which is why I painted the back white in the first place: to reflect any stray light that may transmit through. Affix with craft adhesive, wait to dry, and punch out the holes.

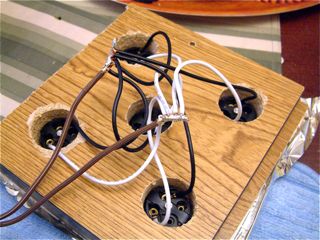
Insert the lamp sockets (Phenolic, roughly $1.50 each off Amazon), cut the ends off some 12 foot extension cables, and solder the wires. All the white leads go to one cable wire, all the black leads go to the other. Wrap in three tons of electrical tape to keep these securely insulated away from anything dangerous. I bolted some old plastic lids over the backing to at least give the impression that I cared about safety…

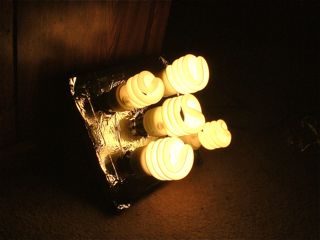
Put in some bulbs and make sure they all light up when plugged in! I’m just using some assorted “warm” CFL spares from the garage. Soon, I plan to buy several 27W EcoSmart daylight bulbs from Home Depot at about $2.50/bulb. For those interested, I did a detailed cost analysis on different bulb wattage as needed to “max out” a given 15 amp 120v circuit. This particular design does not have a lot of space between the holes and so probably can’t accomodate five high-wattage bulbs, but I may be able to squeeze in 4 on the edges and a smaller wattage in the center. CFL Studio Cost Analysis

Indeed the entire project is cheap, assuming you have the tools on hand: extension cords at $3 each, lamp sockets $1.50, bulbs $2.50 and a mylar sheet for $3 totals up to just $72 pre-tax, and the rest was just scraps and leftovers from the garage. Compare that to $225 for a single B400 strobe.

Later I’ll probably add permanent light stands, and some kind of umbrella or other diffuser. Real TD5s have switches to control the amount of light output, but I figure I can just as easily control the lights by unscrewing a few bulbs that I want off. CFLs are a great advancement over the old hot “work lights” setup and not much more expensive… 5x27W gives roughly 500W incandescent equivalent, yet after 15 minutes of running the Mylar backing remained cool to the touch.

Time-Lapse Photography

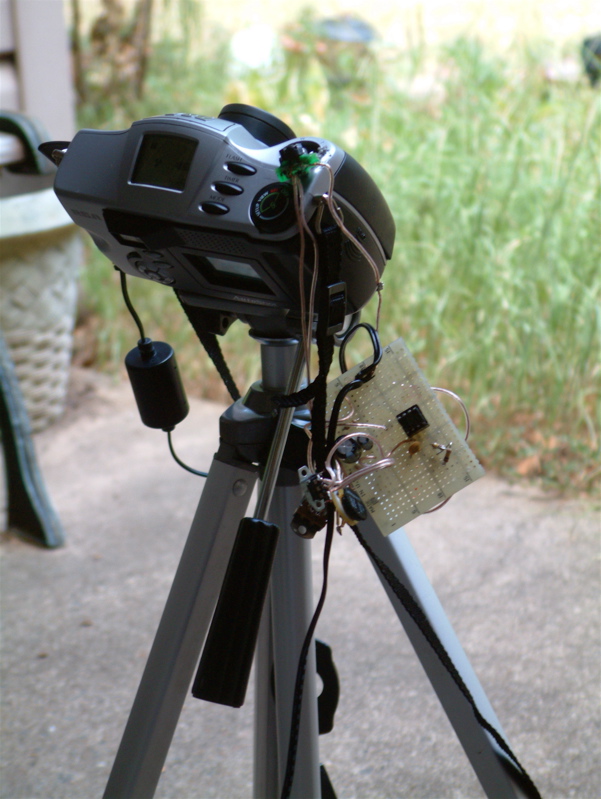
Intervalometer attached to camera, on a tripod, pointing at the sky

I’ve recently taken an interest in time-lapse photography. It’s a fun and easy aspect of photography to get involved with, and it has the potential to produce some interesting results. Plus, you don’t need a high-end camera to produce quality video: it only takes 1.6 megapixels (1440 x 1080) to assemble an HD-quality output file, which is available nowadays on many phone cameras.

I had a spare digital camera from 2001 handy: the RCA CDS6300, a 2.3 megapixel camera which is a real piece of junk. Mine has a broken battery door. On the plus side, it came with an AC adapter. So I built an intervalometer based on a 555 timer from a guide on Instructables. In the process of hacking the camera to attach the timer, I broke most of the inputs, so that it can now only be used to take time-lapse photos. It shoots 650+ images to a 256mb CF card as JPEG images, and then a bit of free software can be used to assemble these into a “motion JPEG” AVI video file (and add soundtrack if desired).

Despite the fragile build quality of the intervalometer, the mostly non-functional camera, and low quality still images – the resulting video still looks great. Here are a couple of sample videos.

A short time-lapse of clouds overhead, viewed from our front steps
Ice cube melting in a shallow bowl, one photo every 5 seconds.
Cantrell Airfield in Conway, AR visible in the distance and clouds rolling overhead