Category Archives: Hardware

pfSense on Firebox X500

IMG_4881 Previously I had run pfSense as my firewall / router on a discarded Celeron 700mhz machine, with a lot of spare NICs in the PCI slots. Browsing around the local Goodwill and I stumbled upon this Watchguard Firebox X500 for $10. Finally, real rackmount gear for my 2×4 server rack!

I’m sure whatever software comes on this thing is great and wonderful, but I didn’t even try to use it. First step if you have one of these – hop on over to the pfSense Firebox wiki page and do some research. Popped open the case, swapped in a 2gb CF card with the pfSense no-VGA embedded image, and set to configuring it. The most difficult part of all this was getting a USB to Serial cable that worked… and then a Null Modem cable… and then having to do the configuration in a virtualized Windows XP machine because there are no OSX drivers for the WCH341 chip in my cheap eBay usb-serial converter.

Now that it’s all set up I can easily access via ssh or http, so serial access isn’t as important. The hardware in this is just a 1.2ghz Celeron, with 10/100 Ethernet ports and some 256mb RAM. Obsolete, yes, but that red paint job never goes out of style.

Wacom ArtPad II (KT-0405-R) to USB

1119141209 (1) 
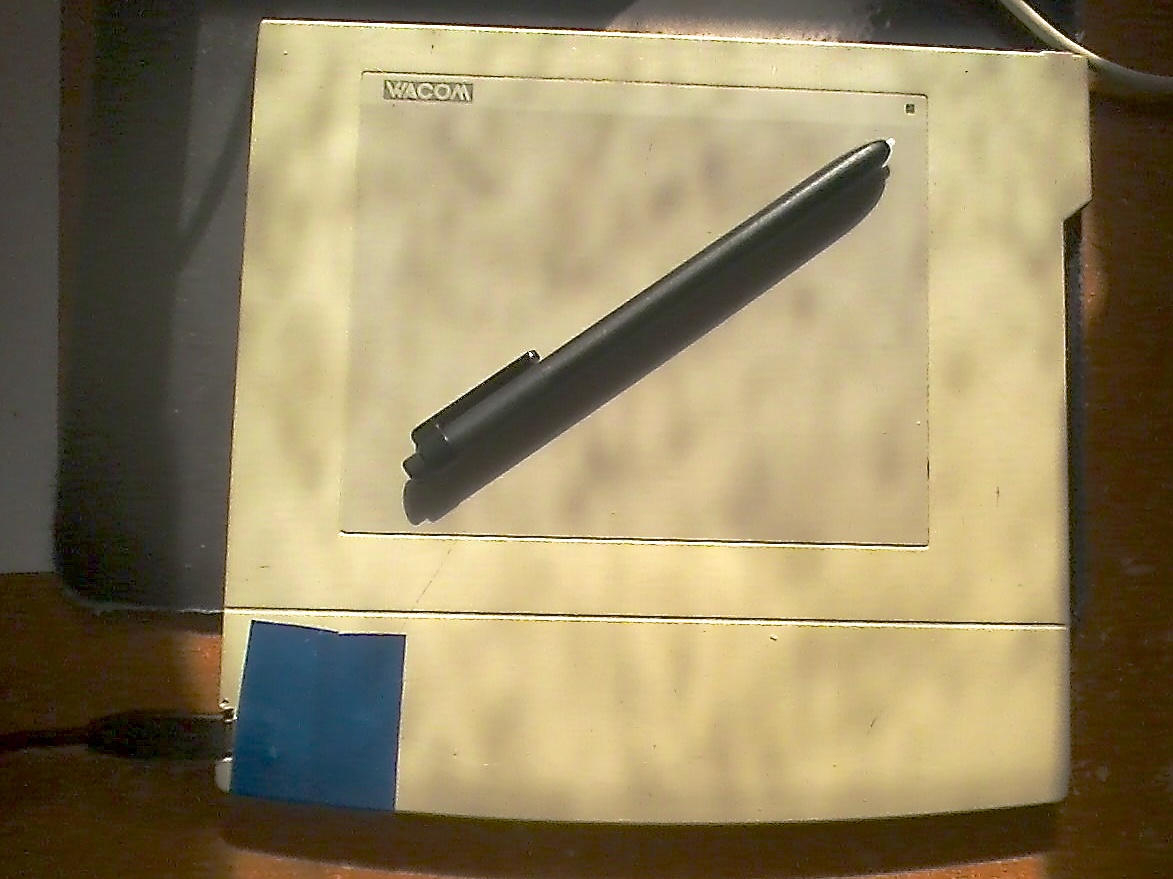
Six or so years ago, I picked up a Wacom ArtPad II digitizer from Freecycle. It came with serial cable and power brick, but no pen. These devices aren’t like an iPad or whatever (which use a capacitative touchscreen) where you can use your finger or a cheap stylus. Wacom pens have built-in smarts to communicate with the tablet and relay pressure information, pen/eraser mode, button click, etc. Without the pen, it’s downright useless. A few eBay searches revealed that pens were crazy expensive to replace at the time. Into the spare bin it went.

Recently I had an interest in getting this working again. I did more research and found that Wacom pens are actually somewhat interchangeable – in this case I can use any “Penabled” pen on it, and it’ll probably work. The new Samsung Galaxy Note S tablet uses Wacom styluses and the replacements are cheap – $8 on eBay, so I ordered one. Holding the pen over the tablet causes the LED to switch from orange to green, which was good enough for me to figure it’s working.

New problem – I have no machines with a serial port any more, and even if I did, Wacom drivers don’t support serial tablets any more. The solution comes from the WaxBee project, which uses a Teensy 2.0 to sniff old-protocol tablet packets and re-encode them to emulate an Intuos2 (a modern USB tablet with driver support). Great! Ordered a Teensy and cracked open the tablet to set to work.

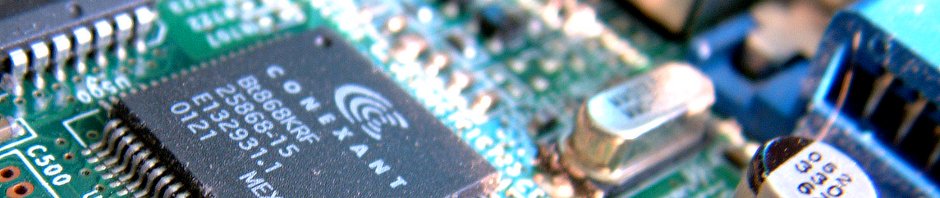
First, I knocked off the serial connector and voltage regulator (soldered across that instead), as the USB will provide the +5V needed to drive the tablet. Next step is removing the ADM202 TTL-to-RS232 chip, where things took a disastrous turn: my overeager Dremel application removed the chip as well as the pads it sat on, and gouged out some of the PCB to boot. Crud, now I have to follow traces to figure out where it was supposed to go. Took a couple high res photos and gave up for the night. (If you need more info – circuit board photos, etc – check out this series of posts: http://forum.bongofish.co.uk/index.php?topic=2088.msg20757#msg20757)

test The actual solution turned out not so bad: had to lift three pins on the Motorola chip and solder those to the Teensy. The hid_debug tool from pjrc (and associated WaxBee firmware) was invaluable in figuring out when I had the wires going the right way. Once that was done, superglue secured the wires and electrical tape held the Teensy. I cut a chunk off the side of the enclosure for the USB micro-port to fit, and drilled a hole for the Teensy button if I ever need to reprogram it. Covered with electrical tape, plugged it, and miraculously it all worked!
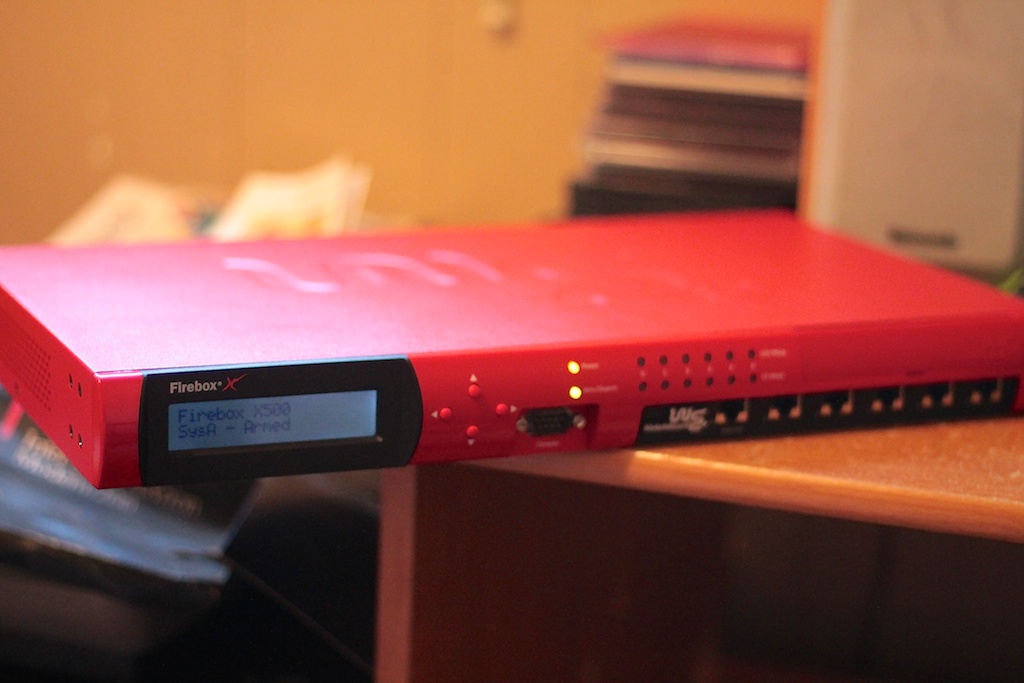
Teeny Tiny MIDI Controller

I’ve been working sporadically on this tiny MIDI controller.  It targets the smallest PIC microcontroller available with onboard A/D converter – the PIC10F220.

Currently it reads two potentiometers and a button input using three of the GPIO pins, and it bitbangs the remaining output pin to produce MIDI-Out at 31250hz using cycle-counted delays.  Since practically everything is already on-chip, this thing could just be epoxied straight to the enclosure.  There are only two or three more components – no PCB required!

schemThis microcontroller sports a whopping 256 instructions and 16 bytes of RAM.  Even so, the MIDI controller code consumes less than half the available resources after a modest amount of optimization for size.  One might see this as my response to using a certain 32k ROM / 2k RAM microcontroller to blink some lights, but I won’t admit to being that petty.

mplabWhat to do with the remaining space?  An easter egg isn’t a bad idea…  Hold the button down on boot, and the controller will dump “HTTP://WWW.HACKADAY.COM” as a series of MIDI note-on messages.

Unfortunately I haven’t built the thing yet, but I did simulate it.  Here’s the logic analyzer input, showing MIDI messages being sent (delays removed):

plot_editYou can listen to the result here: EasterEgg.mid

Code follows.

Continue reading

Atari Flashback 2 Mod

The Atari Flashback 2 is a really neat plug-and-play TV game system. It looks like a tiny Atari 2600 and plays 20+ classics for the system. Most interesting to hackers, however, is that the board inside isn’t just a 2600 emulator or recreation – it’s actually a modern, miniaturized 2600-on-a-chip playing real ROM images. Additionally, there is a convenient silkscreened table on the board showing pinouts for adding a 2600 cartridge connector and playing real VCS game cartridges on the system.  Compatibility isn’t 100%, but it’s quite accurate, and the A/V cable is a nice way to hook up to a modern TV (no more fiddling with RF adapters).

Finding a NOS cart connector is tough, but there’s an alternative: source a floppy-to-IDE cable from an old PC – the board connector has the same pin spacing as a cart.  I stuffed cut-down popsicle sticks into the gaps on either side (the connector is wider than a real 2600 cart).

Soldering to the board can be a real pain in the butt, especially if (like me) you don’t have a solder station to do it and are using a blunted Rat Shack iron for the job.  Miraculously, it all worked when I screwed it back together.  Besides the cartridge slot itself I added a few details:

  • Power light
  • Difficulty lights
  • Switch on back to select between “cart” and “built-in games”
  • Removed hardwired A/V cable and replaced with A/V jacks

Cutting the slot posed a new challenge, which I didn’t do a very good job of.  I drilled holes through the cart connector and used long bolts to secure it to the back of the system – carefully spaced so that the would slide into the tabs on the Atari cartridges and release the dust cover.  Then came time to cut a rectangular hole in the top.  I did this… and found I’d put it at the wrong spot.  So I had to cut another hole, leaving a gap around the cartridge and screwing the aesthetic.  This time I got it right and was able to play Star Wars: Empire Strikes Back on my big-screen TV.

Definitely not the most impressive Flashback 2 hack out there, but I’m pleased with the outcome.  Like most of my projects, this one dragged on for a couple of years before reaching a finished state – I’d throw a couple hours at it every few months but never seemed to get it wrapped up.  Now if I could just finish the multicart I’ve also been designing, I could have something to play on it.

Mac Mini Processor Upgrade

Our Mac Mini (Intel, late 2006) is now the family computer.  That’s a big job for this little machine, which last saw an upgrade in 2008 to 2gb RAM.  However, it still poked along on the Core Solo 1.5ghz processor that it shipped with.  That was decent in 2006 but it’s slow in 2012: when your Flash games look like a slideshow, it’s time to upgrade.

Fortunately, the top end processor for this machine (Core2Duo 2.33ghz, the “T7600” model) has been out of production for some time and prices have finally fallen below $100 shipped on eBay.  I snagged one for $91 and went through with the install today.  It’s a little nerve-wracking working in such a tight space, especially since you must pry the case apart using a putty knife.  Also, I had no thermal compound… the nice guys at Luyet Computers donated the .1 gram or so that I needed at no charge (thanks!) and I was up and running shortly.  I also blew out a ton of dust and cleaned up some stickiness that appeared to be ancient Sprite spilled on the computer.

End result: well, it’s way way faster, as to be expected.  I didn’t measure temperatures before and after but (thanks to eliminating dust) it’s actually running quieter than when I took it apart.  For fun I did a before-after Geekbench scores comparison.  Click here to see the Google Docs spreadsheet.

If you have a Mac Mini, I highly highly recommend this upgrade, it’s great for the price (or you can probably do even better getting the T7200 or T7400 versions… but I was enticed by the turbo clock speed).  We should be good for the foreseeable future, until the HDD dies and I put in an SSD instead : )